How to Achieve the Perfect Black Finish with Wood Dye Techniques
 Achieving the perfect black finish with wood dye techniques is essential for both amateur woodworkers and seasoned professionals seeking to elevate their craftsmanship. According to a recent report from the Wood Products Manufacturers Association, nearly 60% of woodworkers cite color enhancement as a primary focus in their projects, with black wood dye consistently ranking among the top choices for its sophistication and versatility. The ability of black wood dye to highlight grain patterns while providing a rich, deep finish makes it a sought-after solution in furniture and cabinetry. Moreover, the global market for wood stains, including dyes, is projected to reach USD 2.3 billion by 2025, signaling an increasing demand for high-quality finishes. This guide will explore effective techniques for applying black wood dye, ensuring your projects meet both aesthetic and professional standards.
Choosing the Right Wood for a Perfect Black Finish
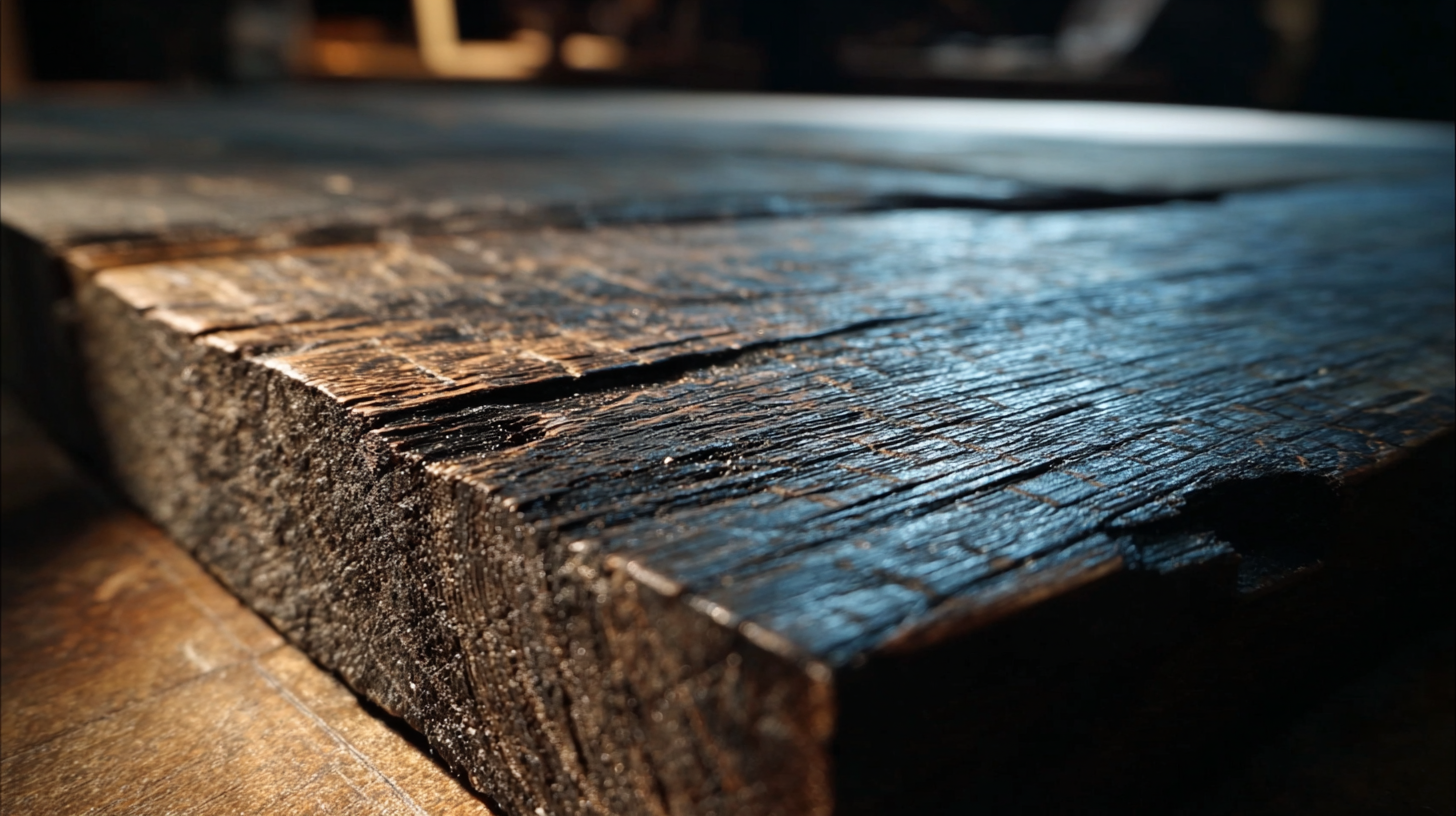
Choosing the right wood is essential for achieving a perfect black finish with dye techniques. Different types of wood react uniquely to dye, significantly affecting the final appearance. For instance, hardwoods like oak and maple provide a smooth surface that absorbs the dye evenly, resulting in a rich and deep black hue. On the other hand, softer woods may require extra preparation to ensure an even finish, as they can be more porous.
When selecting wood, consider its grain and density. Fine-grained woods tend to yield a more consistent finish, while open-grained species might require fillers to achieve a flawless look. Additionally, the moisture content of the wood plays a crucial role; properly dried wood absorbs dye more uniformly. By understanding the characteristics of the wood, you can make informed choices that will help you work towards that perfect black finish, enhancing both the aesthetic appeal and durability of your wood project.
Understanding Different Types of Wood Dyes for the Best Results
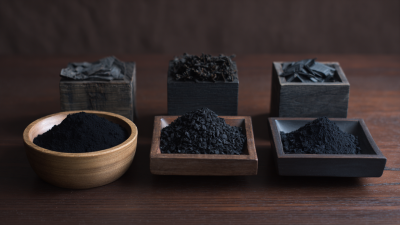
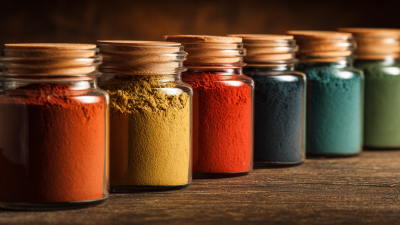
When aiming for the perfect black finish on wood, understanding the various types of wood dyes available is essential. Water-based dyes are popular for their ease of use and quick drying times. They penetrate wood fibers deeply, ensuring vibrant color while also allowing for easy clean-up. These dyes can be mixed with other colors, providing flexibility in achieving the desired shade or tone. However, it’s crucial to note that water-based dyes may raise the grain of some woods, requiring sanding after application for a smooth finish.
On the other hand, alcohol-based dyes offer a unique advantage in their faster absorption and enhanced color intensity, making them ideal for achieving a rich black hue. They work well on various wood types and are less likely to raise the grain compared to water-based options. Additionally, oil-based dyes provide a deep, long-lasting finish that accentuates the wood's natural grain. However, they can take longer to dry and require more effort in application. By understanding these differences, woodworkers can select the most suitable dye type for their project, ensuring the perfect black finish is achieved while showcasing the beauty of the wood.
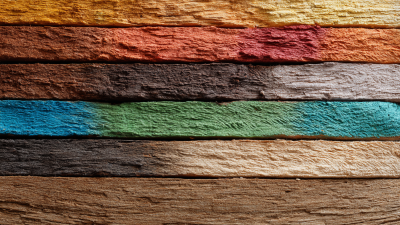
Black Finish Achieved with Different Types of Wood Dyes
Essential Tools and Supplies for Wood Dye Techniques
Achieving a perfect black finish with wood dye techniques requires some essential tools and supplies to ensure the best results. First and foremost, selecting high-quality wood dyes is crucial. Look for both water-based and alcohol-based options, as each will contribute differently to the finishing process. Water-based dyes are easier to clean up and less toxic, while alcohol-based dyes can offer deeper saturation on certain woods. It's advantageous to have a range of shades for blending and achieving the desired depth of color.
Additionally, proper application tools play a significant role in achieving a flawless finish. A set of foam brushes or natural bristle brushes is ideal for applying the dye evenly on the wood surface. Fine-grit sandpaper will help prepare the wood by smoothing its surface, allowing for better dye absorption. Furthermore, a clean, lint-free cloth is essential for wiping off any excess dye, ensuring an even finish. To protect your work area and ensure safety, using gloves and a good quality dust mask will also help maintain a clean and safe working environment while you create your masterpiece.

Step-by-Step Guide to Applying Wood Dye for Deep Black Color
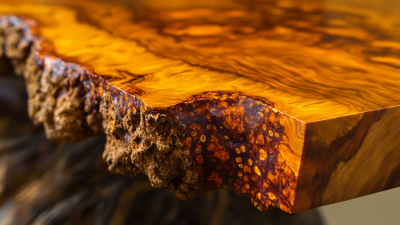
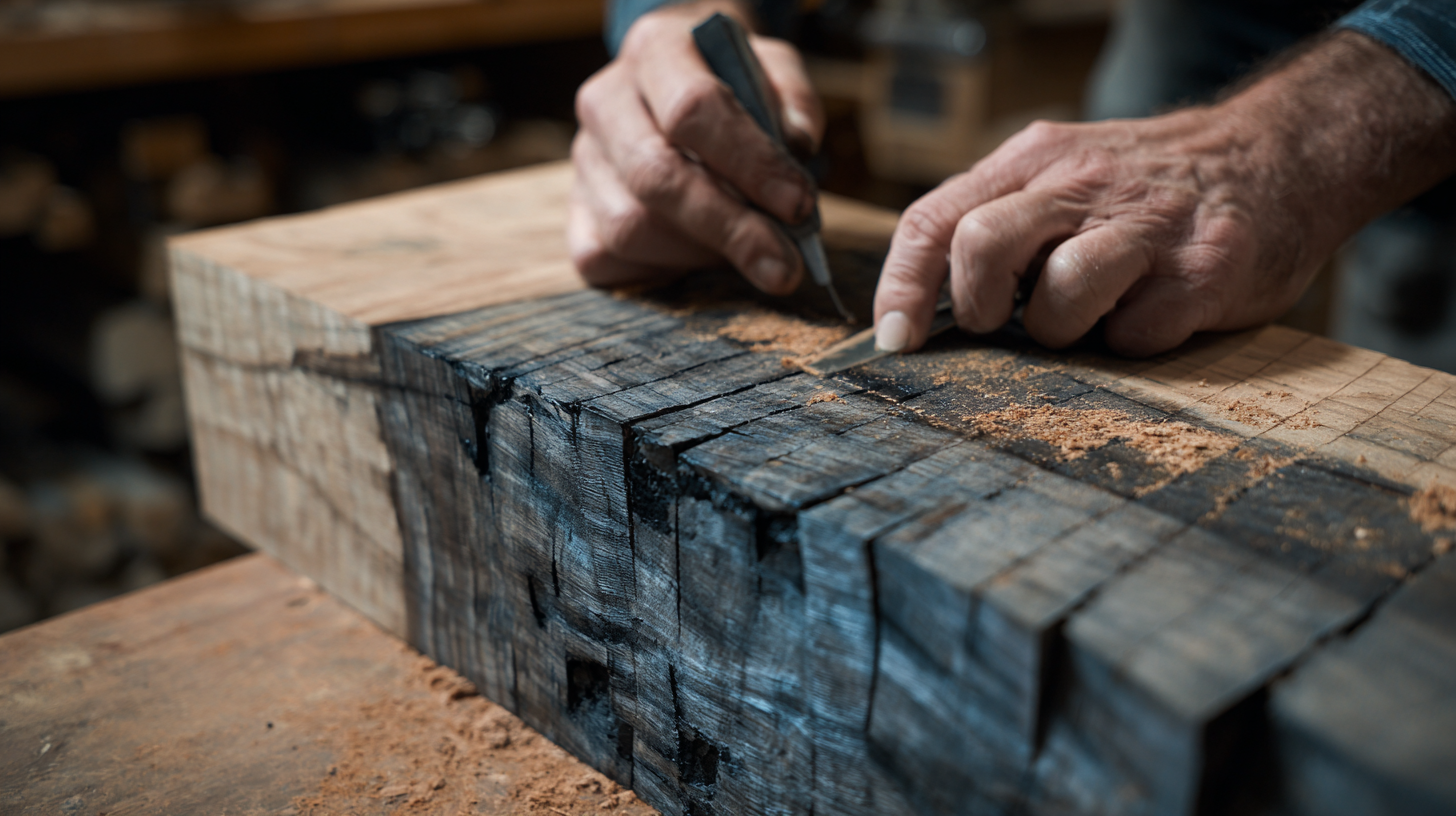
Achieving a deep black finish on wood can elevate any DIY project, whether you're refinishing furniture or creating custom decor. The first step in applying wood dye is to prepare your surface properly; this involves sanding the wood to a smooth finish and ensuring it's clean of any dust. Use a tack cloth to wipe down the surface, preparing it for even dye absorption. For the best results, choose a high-quality wood dye specifically formulated for deeper colors.
When applying the dye, use a brush or cloth to ensure even coverage. Begin by applying a thin layer, allowing it to penetrate the wood while avoiding puddling. After the initial coat has dried, assess the color intensity. For a truly deep black finish, you may need to apply multiple coats, allowing each one to dry thoroughly before the next application. Once you've achieved your desired depth of color, seal the wood with a protective finish to enhance durability and preserve the richness of the black hue. This step is crucial for maintaining the aesthetic and longevity of your project, especially if the wood will be exposed to sunlight or wear and tear.
Common Mistakes to Avoid When Achieving a Black Wood Finish
Achieving a perfect black wood finish requires attention to detail, and avoiding common pitfalls is essential for success. One prevalent mistake is neglecting surface preparation; failing to sand the wood properly can result in an uneven finish that detracts from the final look. Ensure you start with a smoothly sanded surface—progressing through grits for a flawless foundation.
Another frequent error involves the selection of the wood dye. Many DIYers opt for cheap products that don’t provide the desired depth of color. Invest in high-quality dyes specifically designed for wood, as they penetrate better and yield a richer, more uniform black finish. Additionally, improper application techniques can lead to streaks or blotchiness; it’s crucial to apply the dye evenly and to follow the manufacturer’s instructions carefully for best results.
**Tips:** Always test your dye on a scrap piece of wood to see how it reacts before committing to the entire project. Patience is key—allow sufficient drying time between coats to avoid any unwanted mixing or discoloration.
How to Achieve the Perfect Black Finish with Wood Dye Techniques - Common Mistakes to Avoid When Achieving a Black Wood Finish
| Technique |
Common Mistake |
Impact of Mistake |
Tips for Perfection |
| Staining |
Using too much dye |
Uneven color application |
Apply in thin coats |
| Preparing the Surface |
Skipping sanding |
Poor adhesion of dye |
Sand thoroughly before dyeing |
| Dye Application |
Not testing colors first |
Unexpected final color |
Always test on a scrap piece |
| Sealing |
Using incompatible sealers |
Deterioration of color |
Choose sealers designed for dyes |
| Application Technique |
Appy in uneven strokes |
Visible brush marks |
Use smooth, consistent strokes |