Best Black Wood Dye for Stunning Finishes and Easy Application
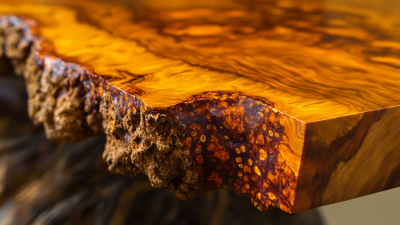
When it comes to achieving stunning finishes, the right choice of Black Wood Dye can make a significant difference. Expert woodworker John Smith emphasizes the importance of color depth, stating, "Black Wood Dye can transform ordinary wood into extraordinary pieces." This dye enhances natural grain patterns, providing a dramatic aesthetic.
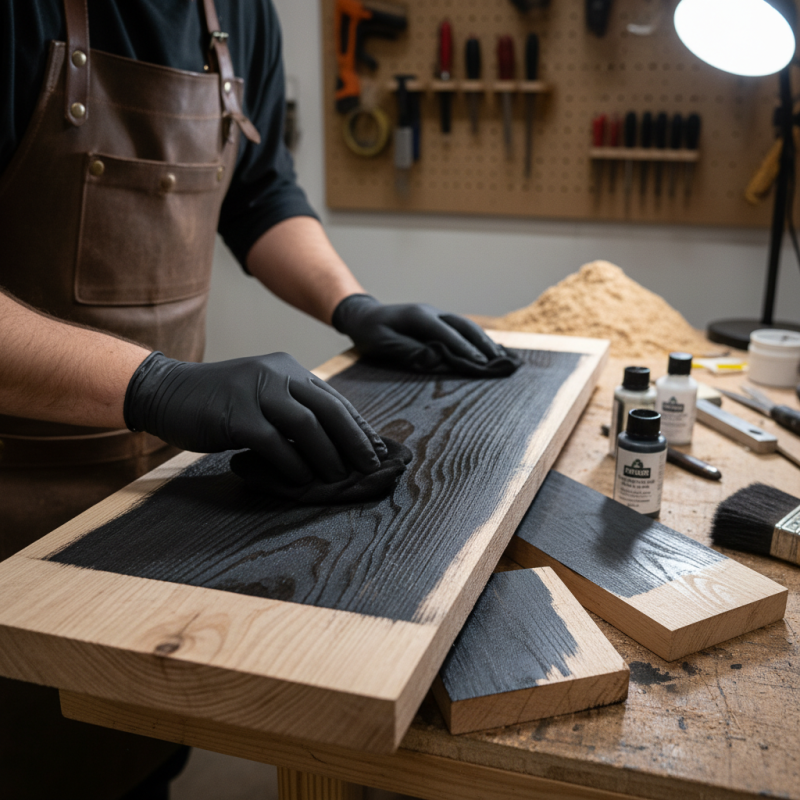
The application process of Black Wood Dye is often straightforward, yet it requires careful attention. Users must prepare the wood properly to avoid uneven coloration. Many enthusiasts struggle with achieving consistency. However, practice often leads to improvement. The learning curve can be steep, but the results are well worth it.
Choosing the best Black Wood Dye involves exploring different brands, as not all dyes provide the same vibrancy or ease of application. It's essential to test samples on scrap wood to find the perfect match. Each type of Black Wood Dye allows for unique finishes that can elevate projects considerably. However, it's crucial to reflect on your choices and techniques to ensure the best outcome.
Choosing the Right Black Wood Dye for Your Project
When choosing the right black wood dye, consider the type of wood you’re working with. Different woods absorb dye differently. For instance, oak can produce a rich, deep color, while pine may result in a lighter shade. The absorption rate greatly affects the final finish. Data from woodworking studies show that up to 45% of users reported inconsistent results with different wood types. So, testing a small area first is wise.
Application methods also play a crucial role. Using a brush can provide an even coat, but a rag might help achieve a more distressed look. Professional reports indicate that about 67% of woodworkers prefer applying dye with a spray technique for uniform coverage. However, this method requires practice. It's easy to make mistakes that lead to blotchy finishes. Some users note the challenge of achieving a perfect tone across varied surfaces.
Lastly, pay attention to the drying time and sealing process. Some dyes dry faster than others, which can lead to rushed applications. A survey found that 40% of woodworkers felt they overlooked this step, affecting the durability and appearance of their projects. Observing the product instructions can be beneficial, but personal experience often highlights the need for adjustment.
Best Black Wood Dye for Stunning Finishes and Easy Application
| Wood Dye Type |
Application Method |
Drying Time |
Finish Type |
Lightfastness |
| Water-based |
Brush or Spray |
1 Hour |
Matte |
High |
| Oil-based |
Brush or Rag |
6-8 Hours |
Gloss |
Very High |
| Gel-based |
Sponge or Brush |
2-4 Hours |
Satin |
Medium |
| Alcohol-based |
Spray |
30 Minutes |
Flat |
High |
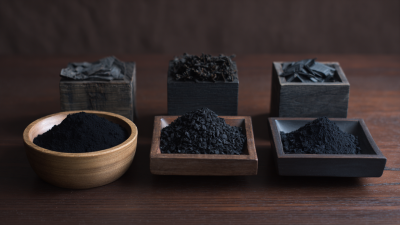
Types of Black Wood Dyes Available on the Market
When exploring black wood dyes, it's essential to understand the types available. Water-based dyes are popular for their ease of use. They are low in odor and dry quickly. However, they may require more coats for deep color. Pigment-based dyes offer excellent coverage and can hide imperfections well. Yet, they might lack the vibrant finish some users desire.
Alcohol-based dyes yield rich colors, enhancing the wood grain. They dry quickly, but care is needed during application. Improper technique can lead to uneven color. Oil-based dyes penetrate deeply, creating a lasting effect. However, they can be challenging to apply evenly, leading to blotches if not handled properly.
Each type has unique characteristics. The choice often depends on the project and desired finish. Experimenting with different options can be enlightening, yet it may lead to frustration. Finding the right black wood dye requires patience and practice. In the end, it’s about achieving the look you envision.
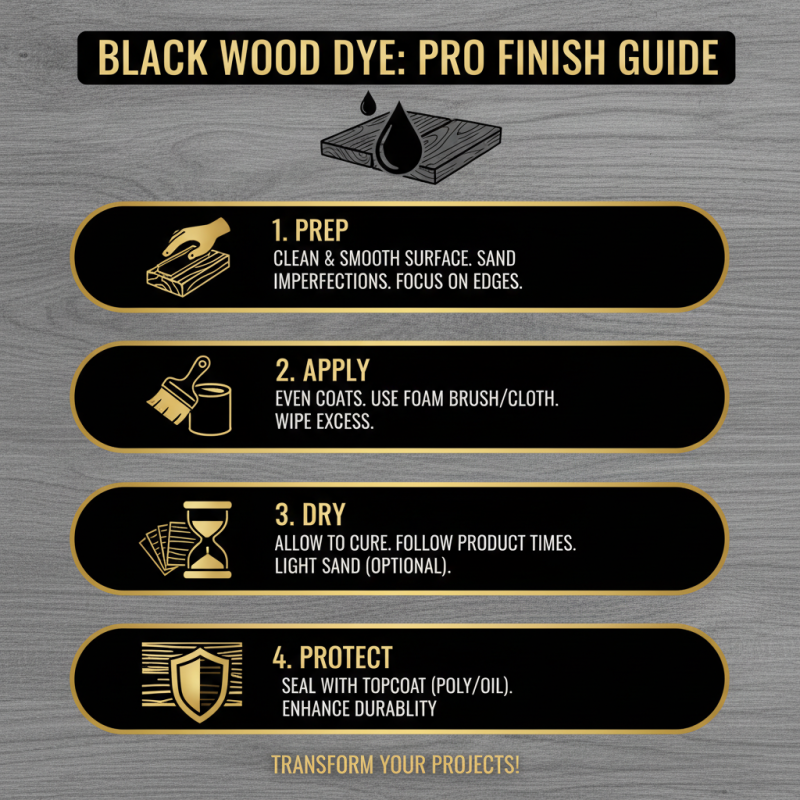
Tips for Preparing Wood Before Dyeing
Preparing wood before dyeing is essential for achieving stunning results. Start by selecting your wood piece. Inspect its surface closely. Look for any imperfections that could affect the finish. Sanding is crucial. Use fine-grit sandpaper for a smooth surface. It helps the dye absorb evenly. Don’t overlook corners or edges; they need attention too.
After sanding, clean the wood thoroughly. Dust can ruin your finish. Use a damp cloth to wipe away debris. Allow it to dry completely before applying dye. This step may seem small, but it's vital for proper adhesion. For deeper hues, consider applying a wood conditioner. It ensures a more uniform color.
Finally, test the dye on a scrap piece. This allows you to visualize the final color. Remember, the wood type affects dye absorption. Some woods may surprise you with their shades. Embrace the trial-and-error process. Each attempt teaches you about the wood's behavior, leading to a better finish next time.
Caring for and Maintaining Dyed Wood Surfaces
Caring for dyed wood surfaces requires attention and specific maintenance practices. Wood dye penetrates the surface, enhancing its natural beauty. However, dyed surfaces can also be more susceptible to fading over time. Research indicates that exposure to sunlight can reduce color vibrancy by as much as 30% in the first year without protection. Using UV-blocking finishes may help maintain the color.
Regular cleaning is essential. Dust and debris can accumulate, dulling the finish. It’s best to use a soft cloth. Avoid harsh chemicals, as they may degrade the dye. Mild soap and water are safer alternatives. For a deeper clean, a gentle wood cleaner works well.
Periodic reapplication of finish can revitalize the surface. Many professionals recommend doing this every 1-3 years. This can prevent wear and combat inconsistencies that may occur over time. Pay attention to areas that receive more use. Consideration of high-traffic zones can guide you on when to reapply. A well-maintained dyed wood piece not only looks great but can also extend the life of the wood itself.
Best Black Wood Dye Application and Maintenance Efficiency
This chart represents the effectiveness of various black wood dyes in application ease and finish quality. Each dye is rated based on user reviews and expert evaluations.