Top Black Wood Dye Tips for Stunning Furniture Finishes?
Enhancing the beauty of furniture often involves the art of using Black Wood Dye. An expert in this field, Michael Thompson, states, “The right dye transforms ordinary wood into extraordinary finishes.” He emphasizes that the choice of dye can drastically affect the final appearance of any piece.
Black Wood Dye is not just a color; it’s a statement. It brings depth and elegance to furniture. However, achieving the perfect finish can be tricky. Many factors play a role, such as wood type and application technique. Understanding these details is essential for success. Even seasoned craftsmen sometimes struggle with consistency.
Experimentation is key in the world of Black Wood Dye. Applying too much or too little can lead to disappointing results. Observing the dye absorption and adjusting accordingly can be frustrating. Yet, these challenges often lead to valuable discoveries. Learning from imperfections and refining techniques is part of the process. With patience, anyone can master Black Wood Dye and create stunning furniture finishes.
Understanding Black Wood Dye and Its Applications
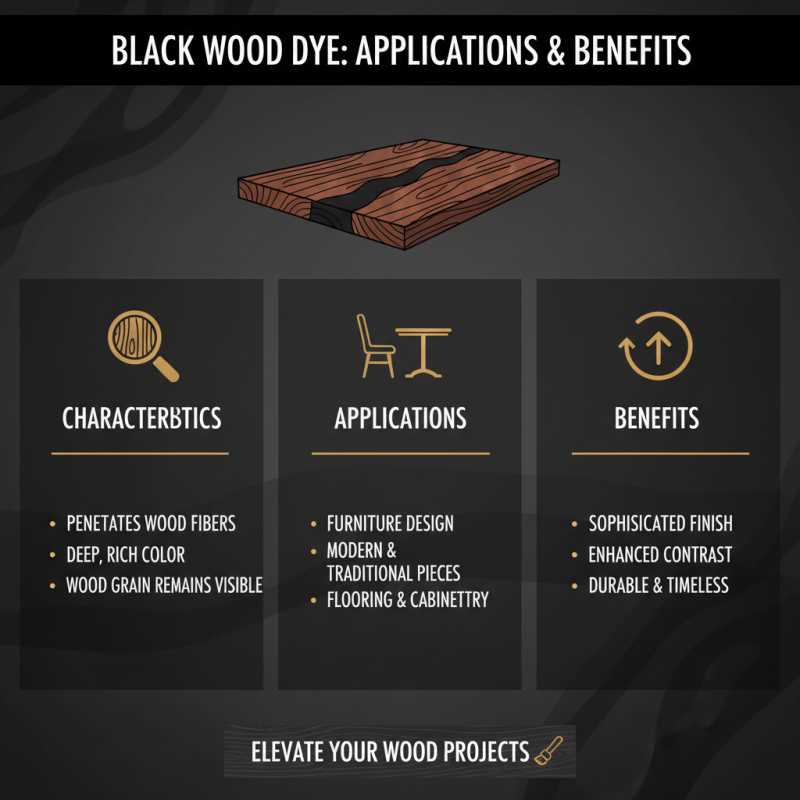
Black wood dye offers a sophisticated finish that elevates furniture design. Understanding its unique characteristics is vital for achieving remarkable results. Black wood dye penetrates the wood, allowing the grain to show through while providing a deep, rich color. This creates a stunning contrast that can enhance both modern and traditional pieces.
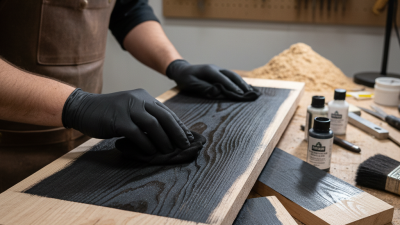
When applying black dye, surface preparation is crucial. Sanding the wood properly helps the dye adhere better. A clean, dust-free surface ensures an even application. Experimenting with dilution can also yield different shades. A more concentrated solution results in a darker finish, while a diluted mixture provides subtle tones. However, achieving the perfect shade can be challenging. It may require multiple applications and careful observation.
Testing the dye on scrap wood beforehand can save time and frustration. This allows you to gauge the final look and make adjustments. It's worth noting that wood type greatly influences the outcome. Softer woods may absorb more dye, creating a different finish than harder varieties. Each project may present unique challenges, encouraging creativity and flexibility in the finishing process.
Choosing the Right Type of Black Wood Dye for Your Project
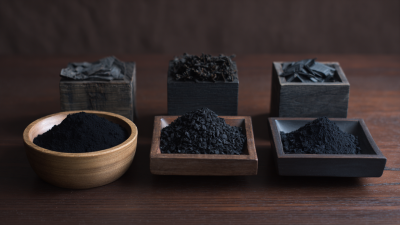
Choosing the right type of black wood dye can significantly impact your furniture finishing project. There are various options available, each with unique characteristics. According to a survey by the Wood Finishing Institute, about 45% of woodworkers prefer aniline dyes for deep, rich colors. These dyes penetrate the wood, providing a stunning finish that enhances the natural grain. However, they can be challenging to apply evenly, often requiring practice and precision.
Water-based dyes are another popular choice. They dry quickly and are easy to clean up. However, some woodworkers note that water-based options may raise wood grain, necessitating additional sanding to achieve a smooth finish. A report from the American Woodworking Association found that 30% of beginners prefer this type for its ease of use, despite the potential for uneven absorption in different wood types.
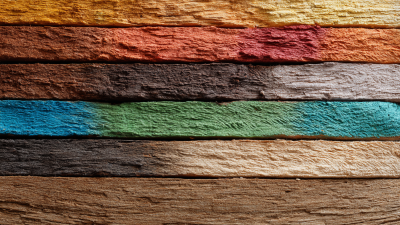
Remember that test samples are crucial. The same dye can appear differently on various woods. Factors like humidity and wood type can alter your results. Adjusting your application technique may be necessary as you learn what works best for your specific project. Embrace the learning curve, and don't be afraid to experiment with different methods for that perfect finish.
Top Black Wood Dye Tips for Stunning Furniture Finishes
This chart displays the popularity ratings of different types of black wood dye based on user feedback. The ratings range from 1 to 10, reflecting the preference and satisfaction levels of users regarding various dye options.
Preparing Wood Surfaces for Optimal Dye Absorption
Preparing wood surfaces is crucial for achieving the best results with black wood dye. Start by sanding the wood to remove imperfections. Use a medium grit sandpaper, around 120 to 180 grit. This helps open up the wood's pores, allowing the dye to penetrate deeply. After sanding, clean the surface thoroughly. Dust and debris can prevent even dye application.
Consider using a wood conditioner before dyeing. This product helps to create an even absorption of color. Apply it according to the manufacturer’s instructions, and allow it to dry completely. Testing the dye on a scrap piece of wood from the same batch is wise. This will give you a clear idea of how the final finish will look. Be prepared for surprises. Sometimes, the wood might absorb the dye differently than expected.
Remember, not all wood types behave the same way. Hardwoods and softwoods can absorb dye at different rates. Areas with knots or grain variations may show uneven coloring. Embrace these imperfections; they add character to your piece. If you find areas too dark, consider lightly sanding again after the first coat dries. Adjusting your technique based on each unique surface is part of the learning process in woodworking.
Techniques for Applying Black Wood Dye Evenly
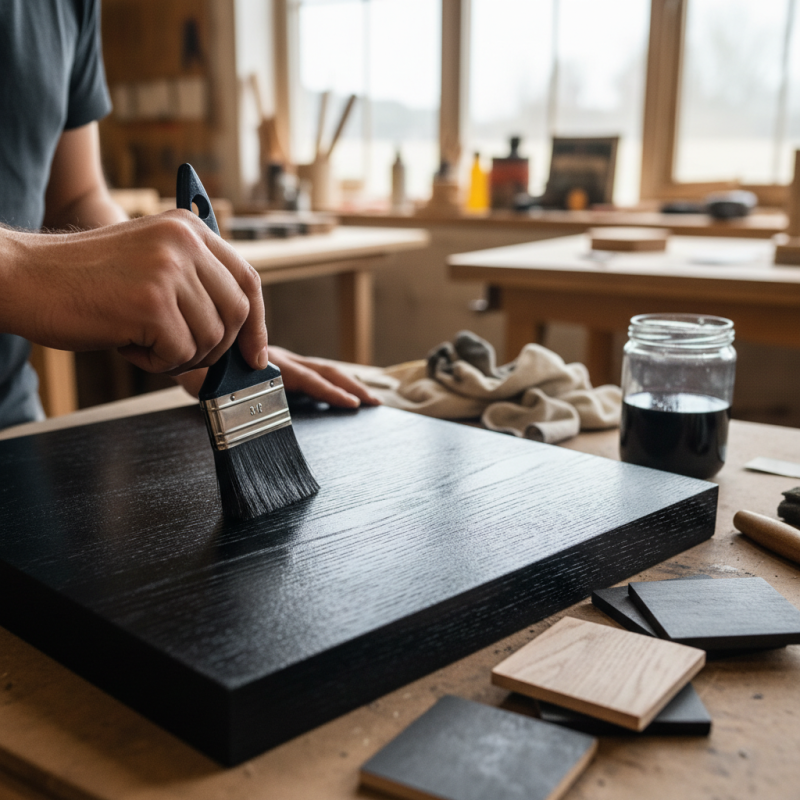
Applying black wood dye evenly is crucial for achieving stunning furniture finishes. To start, ensure your wood surface is clean and smooth. Any imperfections will stand out after applying the dye. A good sand with fine grit paper helps to prepare the surface. Always test the dye on a scrap piece of wood to see how it reacts.
When applying the dye, use a foam brush or cloth. This helps with even distribution. Work in small sections. Avoid over-saturation in one area, as it can lead to unsightly blotches. If this happens, you might need to sand it down slightly and reapply.
Tips for an even finish include applying thin coats and allowing proper drying time between layers. Rushing can lead to uneven coloring. Consider using a conditioner before the dye to help it absorb evenly. Watch the drying process closely. Different woods react differently, and patience is key. Remember, achieving the perfect finish often requires practice and iterations.
Top Black Wood Dye Tips for Stunning Furniture Finishes
| Technique |
Description |
Tips |
| Prepping the Surface |
Ensure the wood is clean and smooth before applying dye. |
Sand the surface with fine-grit sandpaper and wipe with a cloth. |
| Choosing the Right Dye |
Select a high-quality black wood dye suitable for your project. |
Test the dye on a scrap piece of wood first. |
| Application Method |
Apply the dye using a brush, pad, or sponge for an even finish. |
Work in the direction of the grain for best results. |
| Layering Technique |
For a deeper color, apply multiple thin coats. |
Allow each coat to dry completely before adding the next. |
| Sealing the Finish |
Seal the dyed wood with a clear topcoat for protection. |
Choose a finish compatible with the dye used. |
| Cleaning Brushes |
Clean brushes and equipment immediately after use. |
Use water (for water-based dyes) or solvent as required. |
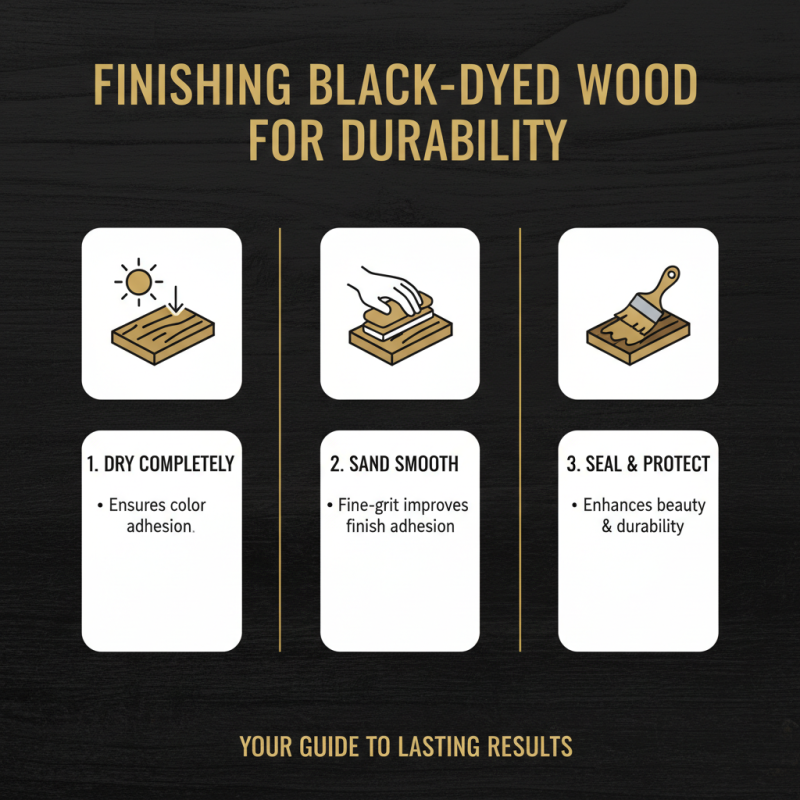
Finishing and Sealing Wood After Dying for Durability
When working with black wood dye, sealing and finishing are crucial for a stunning look and durability. After dying, allow the wood to dry completely. This ensures that the color adheres well. Use a fine-grit sandpaper to smooth the surface. Sanding improves adhesion for the finish.
Tips for finishing include selecting the right product. Oil-based finishes provide a warm glow and durability. Water-based options dry quickly and are easier to clean. Apply thin, even coats. This prevents drips and uneven texture. A foam brush can help achieve a smooth application.
Sealing your wood is essential. It protects against scratches and water damage. A good sealant can enhance the dye, giving depth to the color. Be mindful of the environment, as humidity can affect drying times. Test the finish on a scrap piece beforehand. This helps to avoid surprises on the final project.