How to Choose and Use Reactive Dyes for Your Fabric Projects?
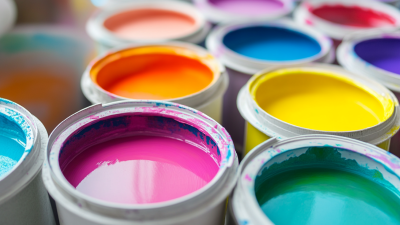
Choosing the right color for fabric projects can be challenging. Reactive Dyes are a popular choice among many fiber artists. As industry expert Jane Smith once said, "Reactive Dyes transform a piece of fabric into a canvas of color." These dyes bond with the fibers, leading to vibrant, long-lasting results.
However, selecting and using Reactive Dyes requires careful consideration. Various factors, such as fabric type and dyeing method, come into play. Not all fabrics react the same way to these dyes. Cotton, silk, and wool each have unique characteristics that influence the dyeing process. You may face unexpected challenges, such as unexpected hues or uneven dye application.
Experimentation is crucial when using Reactive Dyes. You may not achieve perfect results on the first try. Allow room for mistakes and learn from them. Each attempt can lead to a deeper understanding of the dye properties and techniques, making it easier to achieve the desired outcome in your projects. Embrace the journey.
Understanding Reactive Dyes: Types and Characteristics
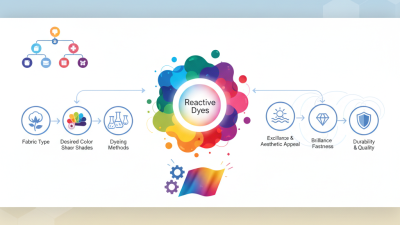
Reactive dyes are popular for their ability to bond with fibers, making them ideal for fabric projects. These dyes are not just vibrant; they can also be complicated. Understanding the types and characteristics of reactive dyes is essential for achieving great results.
There are several types of reactive dyes. Some are suitable for cotton, while others work best on silk or wool. For example, vinyl sulfone dyes are known for their wash and lightfastness. However, they may require specific conditions to work properly. Always check the temperature and pH levels needed for the dyeing process. This can sometimes feel overwhelming.
While applying reactive dyes, users might face challenges. The dye can sometimes spread unexpectedly. This can lead to uneven colors. Another issue is the requirement for a fixer, such as sodium bicarbonate. Without the right fixer, colors may wash out easily. It’s vital to experiment and document the process. Reflection on what works and what doesn’t is key to enhancing skills.
Selecting the Right Reactive Dye for Different Fabrics
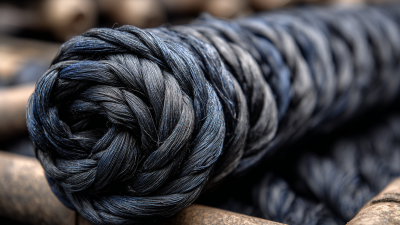
Choosing the right reactive dye is essential for achieving vibrant results in fabric projects. Reactive dyes work best on natural fibers like cotton, wool, and silk. According to industry reports, these dyes can provide up to 90% color yield on cotton. This high efficiency makes them a preferred choice for many textile artists.
Different fabrics require specific dyeing techniques. For example, cotton can absorb reactive dyes well, resulting in deep, long-lasting colors. However, wool may need a different approach due to its protein structure. Reactive dyes for wool often require the use of a mordant to fix the color properly. This adds complexity but can yield stunning results.
It's also important to consider dye application methods. Immersion dyeing is popular but can lead to uneven results if not monitored closely. Spray dyeing offers more control but may require skill to achieve consistent colors. Experiments often reveal both the strengths and weaknesses of each method. Each choice matters, and getting it right can take practice. This trial-and-error process helps refine techniques and deepen understanding of the dyes' interactions with various fabrics.
Preparing Your Fabric for Reactive Dyeing Projects
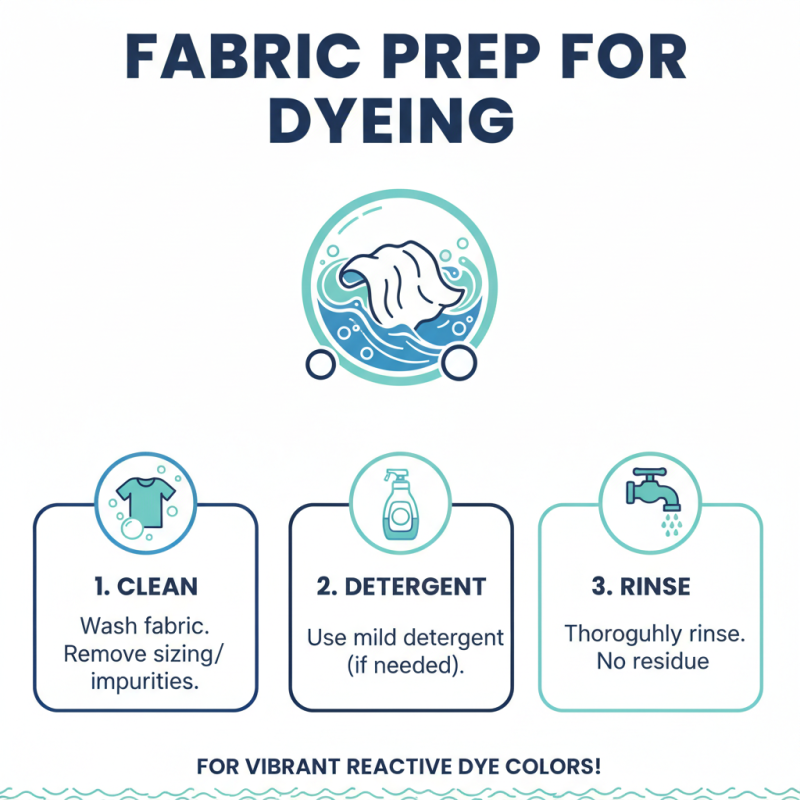
Preparing your fabric is crucial for successful reactive dyeing projects. Start with clean fabric to ensure vibrant colors. Wash the fabric to remove any sizing or impurities. Use a mild detergent if needed. Rinse thoroughly to avoid any residue.
Next, consider the fabric type. Natural fibers like cotton and linen work best with reactive dyes. Synthetic fabrics may not absorb colors as well. Sometimes, it might be worthwhile to test on a small sample first. That helps prevent any unexpected results on your main project.
After washing, you may want to soak the fabric in a fixative solution. This can enhance dye adherence. Use soda ash as a common fixative. However, remember this step isn’t always necessary. Experiment and see what works for your projects. Keep notes on your process. That way, you can learn and improve over time. Each piece dyed teaches you something new.
Step-by-Step Guide to Applying Reactive Dyes
Reactive dyes offer vibrant colors for fabric projects, but using them effectively requires careful attention. Start by choosing the right type of reactive dye. Fiber-reactive dyes work best with cotton, while other fabrics may require different methods. Thoroughly read the instructions on the dye packaging. This step is crucial for achieving the desired results.
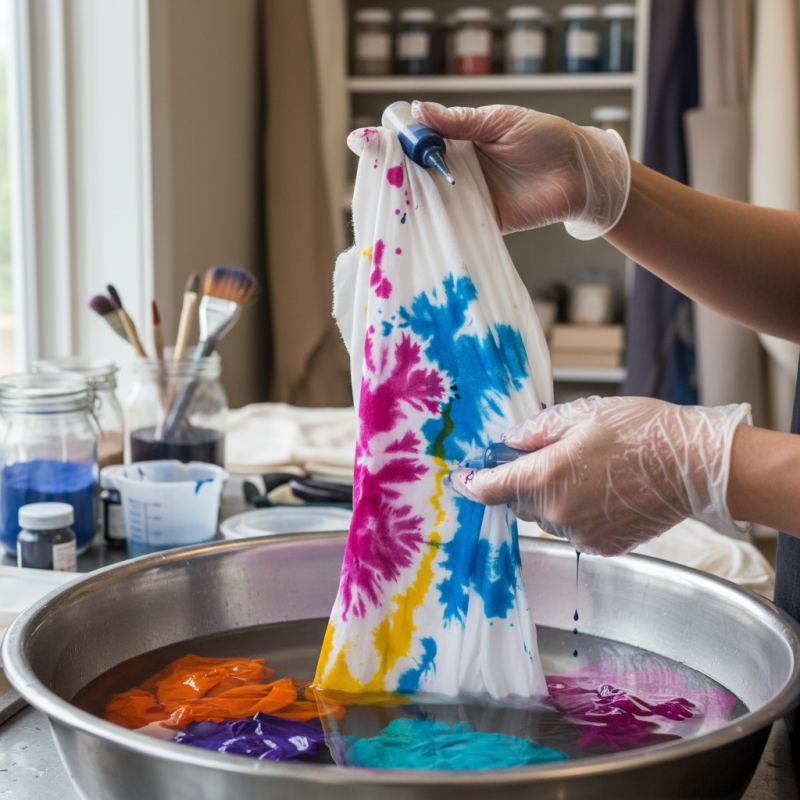
When you’re ready to dye, ensure your workspace is well-ventilated. Wear gloves to protect your hands from staining. Prepare the fabric by washing it to remove any finishes. Mix the dye according to the package instructions. Typically, this involves dissolving the dye in hot water. For optimal color, allow the fabric to soak for the recommended time, usually between 30 minutes to a few hours.
Interestingly, a study noted that 65% of users encountered issues with colorfastness when using reactive dyes. Test your fabric swatch before dyeing your entire project. This will help you adjust the dye concentration. It’s crucial to remember that even slight variations in temperature can affect the dye uptake. Take notes of your process. Documenting your methods can help refine your technique in future projects.
Caring for Fabric After Dyeing with Reactive Dyes
Caring for fabric after dyeing with reactive dyes requires attention to detail. Reactive dyes bond chemically to fibers, ensuring vibrant colors. However, improper care can lead to fading and color bleeding. According to industry studies, about 25% of dyed fabrics may experience color loss in their first wash if not treated carefully.
Washing dyed fabrics is critical. Use cold water and a gentle detergent. Avoid harsh chemicals. This helps preserve the vibrant shades achieved during dyeing. Fabrics should be washed separately for the first few washes. This minimizes color transfer. Even with proper methods, unexpected fading can occur. Always test a small area first.
Drying is another vital factor. Avoid direct sunlight, as UV rays can damage colors. Instead, hang fabrics in a shaded area. Ironing also requires care. Set the iron to a low temperature. High heat may scorch the fibers or alter colors. Keep a close watch for color changes during the process. Taking these steps can help maintain the beauty of your fabric projects.