10 Essential Tips for Working with Black Indigo Dye in Your Craft Projects
Black indigo dye, revered for its rich history and vibrant hue, has gained renewed attention in the craft and textile industries as artisans and designers seek sustainable and natural alternatives to synthetic dyes. According to a report by the International Textile and Apparel Association (ITAA), the global market for natural dyes, particularly Black Indigo Dye, is expected to grow by over 15% annually, driven by increasing consumer demand for eco-friendly products. This resurgence supports not only sustainability but also revives traditional craftsmanship, with many artisans rediscovering age-old techniques.
Renowned dye expert Dr. Amelia Turner emphasizes the significance of Black Indigo Dye in contemporary crafting, stating, "Incorporating Black Indigo Dye into your projects not only enriches the color palette, but it also connects us to the deep cultural roots of dyeing practices across generations." As crafters continue to explore the potential of this extraordinary dye, understanding the nuances of working with Black Indigo Dye becomes essential for achieving the best results.
In this guide, we present ten essential tips that will empower you to harness the full potential of Black Indigo Dye in your crafting projects, ensuring that your creations are not only visually striking but also steeped in tradition and environmental consciousness.
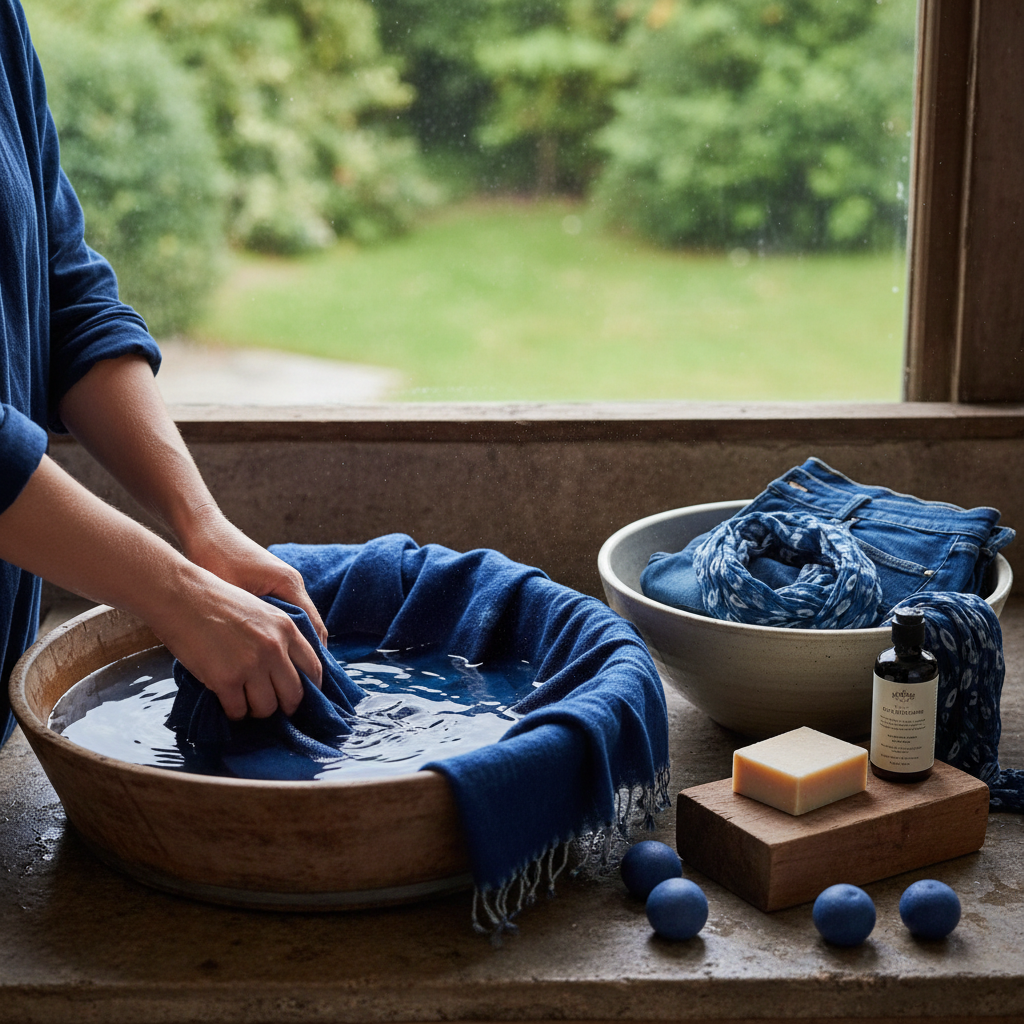
Preparation and Safety: Essential Precautions for Working with Indigo Dye
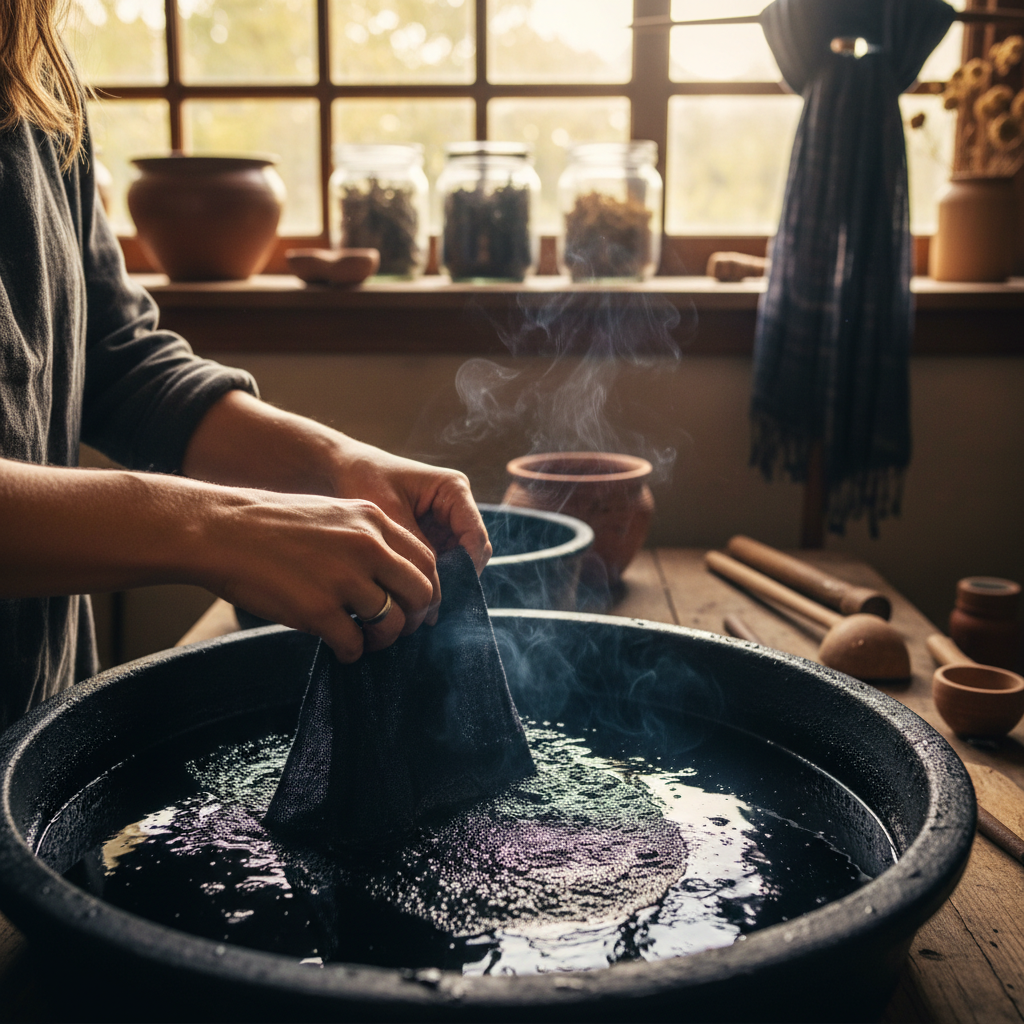
When working with black indigo dye, preparation and safety are paramount to achieving optimal results in your craft projects. Before you start, it’s essential to create a dedicated workspace that is well-ventilated. Indigo dyeing can release vapors and particles that may irritate the respiratory system, so having a mask on hand can help mitigate this risk. Additionally, wearing gloves, goggles, and protective clothing will minimize skin exposure to the dye, which can lead to staining and potential allergic reactions.
Proper preparation also involves gathering all necessary materials before diving into your project. This includes pre-soaking fabrics, setting up dye baths, and having a clear plan for your dyeing technique. Ensure you have a clean surface to work on, as indigo can stain porous materials permanently. Furthermore, it’s wise to have a neutralizing agent—like white vinegar or baking soda—available to manage spills or unwanted contact with skin or surfaces. By prioritizing safety and preparation, you not only protect yourself but also enhance the quality of your indigo dyeing experience, leading to beautiful, vivid results in your crafts.
10 Essential Tips for Working with Black Indigo Dye in Your Craft Projects - Preparation and Safety: Essential Precautions for Working with Indigo Dye
| Tip Number |
Tip |
Description |
Safety Precautions |
| 1 |
Wear Protective Gear |
Use gloves and an apron to prevent skin contact. |
Always wear gloves and eyewear. |
| 2 |
Ventilate Your Workspace |
Ensure good airflow to disperse fumes. |
Open windows and use fans. |
| 3 |
Use Natural Fabrics |
Indigo dye works best on cotton, linen, or silk. |
Avoid synthetic fabrics for better results. |
| 4 |
Test on Scrap Fabric |
Always try out the dye on a sample first. |
Assess color results before the final project. |
| 5 |
Prepare Dye Bath Properly |
Follow instructions for mixing ratios carefully. |
Be precise to avoid hazardous reactions. |
| 6 |
Rinse Thoroughly |
After dyeing, rinse the fabric well to remove excess dye. |
Prevent staining other materials. |
| 7 |
Store Indigo Properly |
Keep dye in a cool, dark place. |
Avoid degradation and color loss. |
| 8 |
Clean Up Immediately |
Wipe spills and clean tools right after use. |
Reduce chances of stains. |
| 9 |
Label Everything |
Make sure containers are clearly marked. |
Avoid mix-ups with other materials. |
| 10 |
Consider Alternative Dyes |
Explore other natural dyes as options. |
For safer dyeing experiences. |
Choosing the Right Materials for Optimal Indigo Dyeing Results
When embarking on indigo dyeing projects, selecting the right materials is crucial for achieving vibrant and consistent results. According to the "Textile Chemistry and Dyeing" report published by the International Journal of Textile Science, the choice of fiber significantly impacts the absorption and final hue of the dye. Natural fibers, particularly cotton, linen, and silk, are known for their superior dye uptake; the report indicates that cotton can absorb up to 80% of the dye compared to polyester, which retains only 20%. This highlights the importance of using high-quality, natural materials for indigo dyeing to fully realize the deep, rich tones characterizing this traditional technique.
In addition to fiber selection, the preparation of the material is equally important. Pre-washing fabrics to remove any sizing or impurities ensures better dye penetration. The "Dyeing Techniques in the Textile Industry" review suggests that treating fabrics with a mordant can also enhance color retention and vibrancy. Common mordants such as alum and tannin, when applied, can improve colorfastness by nearly 50%, as noted in various case studies. Combining these practices with high-quality indigo and a well-prepared dye bath will yield optimal results, allowing crafters to achieve the stunning depth and complexity that indigo dyeing is revered for.
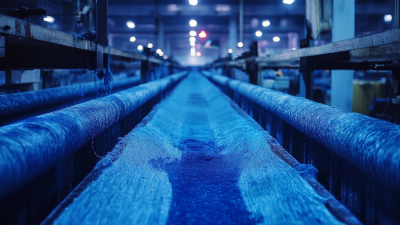
Techniques for Achieving Vibrant Colors with Black Indigo
Black indigo dye, renowned for its rich hue and versatility, requires specific techniques to achieve vibrant colors in craft projects. According to the Textile Research Journal, indigo dyeing can produce a color spectrum ranging from deep midnight blue to brilliant teal, depending on the concentration and application method used. The dye’s efficacy is largely influenced by the pH level during the dyeing process; maintaining a slightly alkaline environment maximizes color uptake and ensures a more vivid finish.
Incorporating a pre-soak in a mixture of water and salt can also enhance dye adhesion to fabrics. A study published in the Journal of Science and Technology for Textile Industry highlighted that using a mordant, such as alum, can further improve color fastness, allowing projects to withstand multiple washes without fading. Additionally, experimenting with resist techniques, such as tie-dye or wax resist, can add unique patterns and textures, showcasing the dynamic qualities of black indigo. By employing these techniques, crafters can unlock the full potential of this ancient dye, transforming ordinary textiles into stunning works of art.
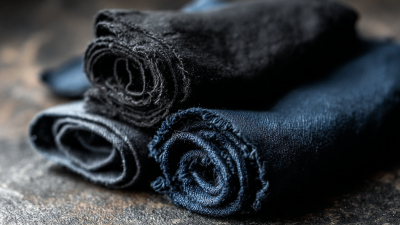
Post-Dyeing Care: Maintaining Your Indigo-Dyed Fabrics
Post-dyeing care is crucial for maintaining the
vibrancy and longevity of your indigo-dyed fabrics. First and foremost,
it is essential to wash indigo-dyed items with care. Use cold water and a gentle detergent to avoid fading.
Avoid using bleach or fabric softeners, as these can significantly alter the color and texture of the fabric.
Instead, opt for a pH-neutral soap to preserve the rich hues of your dye.
Additionally, after washing, air-drying your indigo-dyed pieces is highly recommended.
Direct sunlight can cause the colors to fade, so drying in a shaded area is ideal. If you need to iron the fabric, consider using
a low heat setting to prevent any unwanted damage. Lastly, storing your indigo-dyed items away from direct light
and in a cool, dry place can help maintain their striking appearance for years to come.
By following these care tips, you can ensure your indigo fabrics remain vibrant and unique,
celebrating the beauty of this traditional dyeing technique.
Troubleshooting Common Indigo Dyeing Issues and Solutions
When working with black indigo dye in your craft projects, it’s common to encounter a few hiccups along the way.
One of the most frequent issues is uneven dye absorption, which can lead to patchy results.
To troubleshoot this, ensure that your fabric is thoroughly soaked before dyeing. Pre-washing the material removes any sizing or finishes that might interfere with the dye penetration, ensuring a more consistent color.
Another common problem is the dye oxidizing too quickly or improperly, resulting in a dull hue instead of the vibrant blue you desire.
To avoid this, keep your dye bath at a stable temperature and ensure that it is correctly mixed.
Adding a small amount of reducing agent can also help maintain the dye's vibrant color during the application process.
Lastly, if your dyed fabric loses its color after washing, it may indicate that the dye wasn’t properly set.
Always use a fixative post-dyeing to secure the color, and test a small area first.
Remember, patience and experimentation are key when working with indigo dye, and keeping these troubleshooting tips in mind will help ensure your projects turn out beautifully.